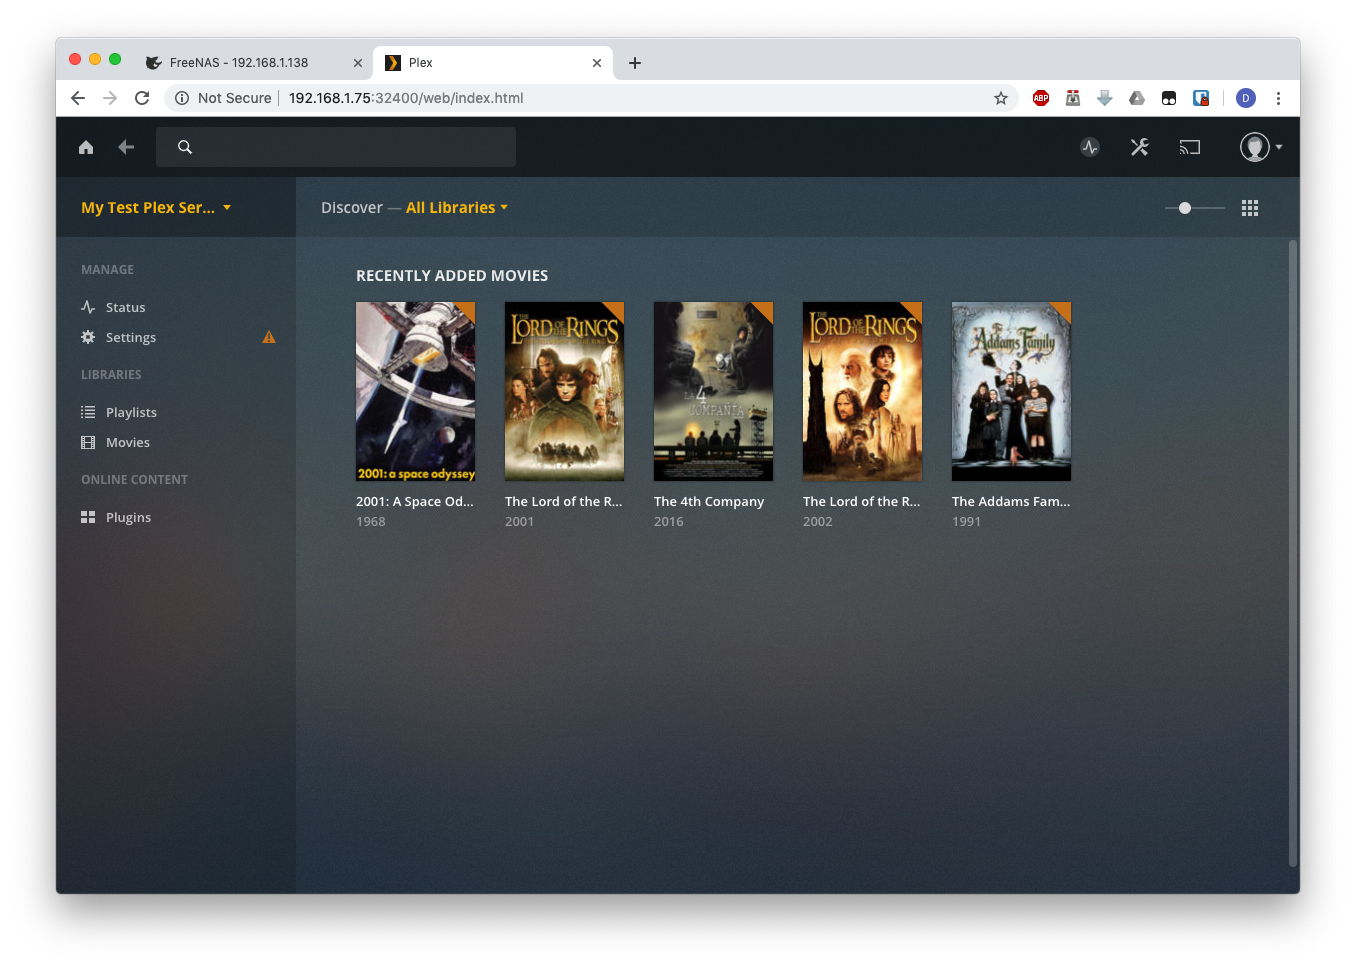
¶ Plex Media Server
This is a guide for installing Plex Media Server using the script created by user danb35 on the TrueNAS forums. A previous version of this guide described installation of the plugin for Plex, but plugins are poorly maintained and will be removed from TrueNAS in the near future. See this blog post for more information.
¶ Create the Media Dataset
Click “Storage” in the left column, then “Pools”.

Click the three vertical dots to the right of your pool, and select “Add Dataset” from the pop-up menu.
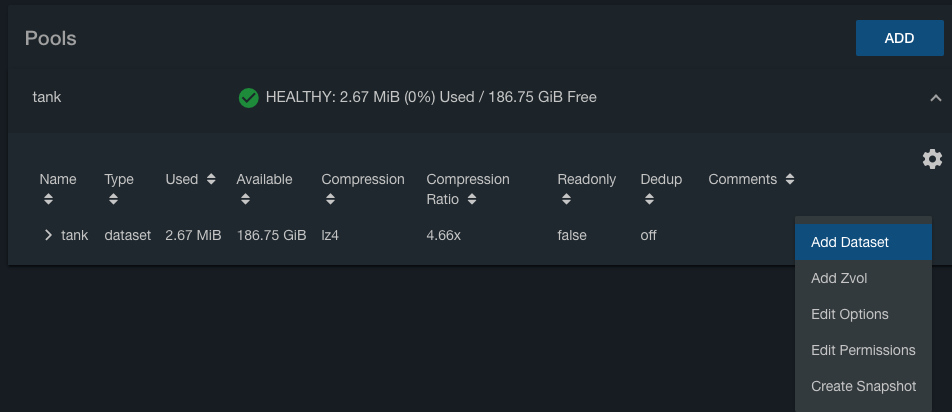
You'll see the “Add Dataset” window.
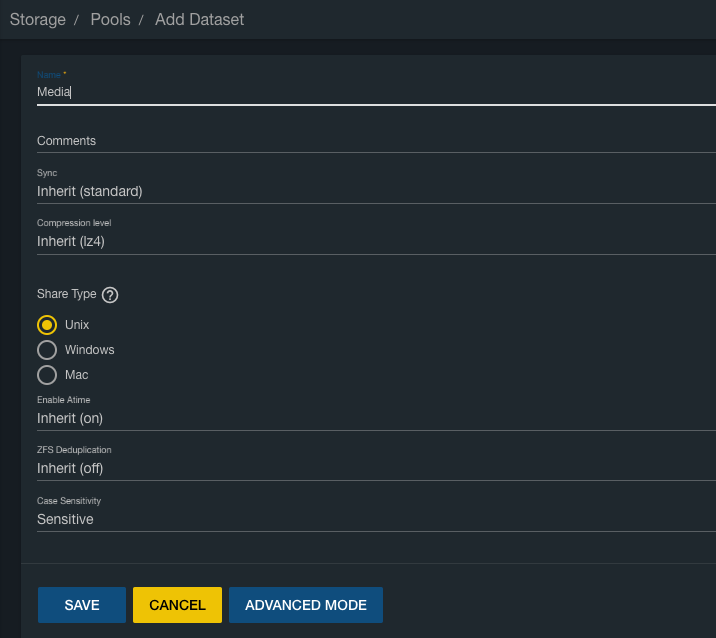
In the “Name” text box type a name for the new media dataset (Fester very imaginatively used Media).
Leave the “Compression level” drop down selection box (2) at its default value (Inherit (lz4)).
In “Share Type” I selected Windows simply because most of the clients on Fester’s network are Windows machines.
Now click on the “Save” button.
Your dataset will be created. Click the > next to your pool name to show the datasets.
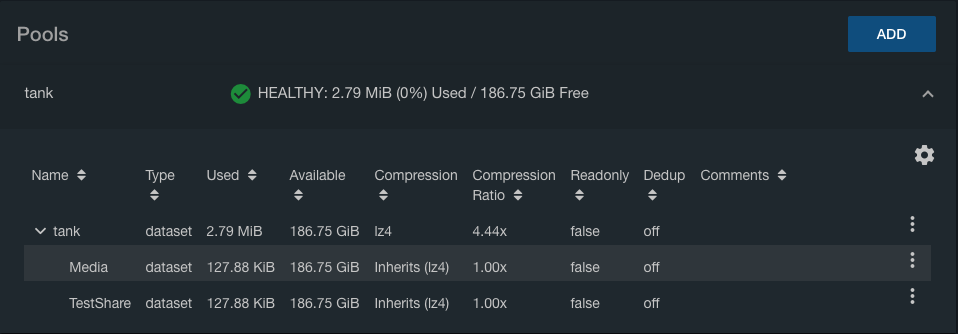
If all goes well the new dataset will be listed in the “Storage” page.
Click the three vertical dots to the right of the new dataset, and click “Edit Permissions” from the pop-up menu.

You'll see the “Edit Permissions” window.
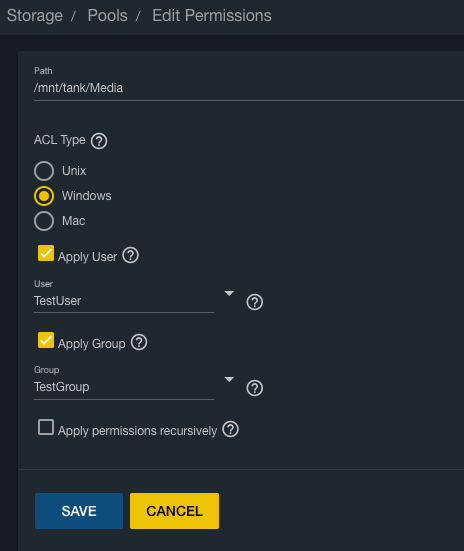
In the “User” drop down selection box select whatever user you created when we created the experimental share (in Fester’s case this was TestUser).
In the “Group” drop down selection box select whatever group you created when we created the experimental share (in Fester’s case this was TestGroup).
Now click the “Save” button.
¶ Add Media Share
Now click “Sharing” in the left column, then “Windows (SMB) Shares”.

Click the “Add” button.
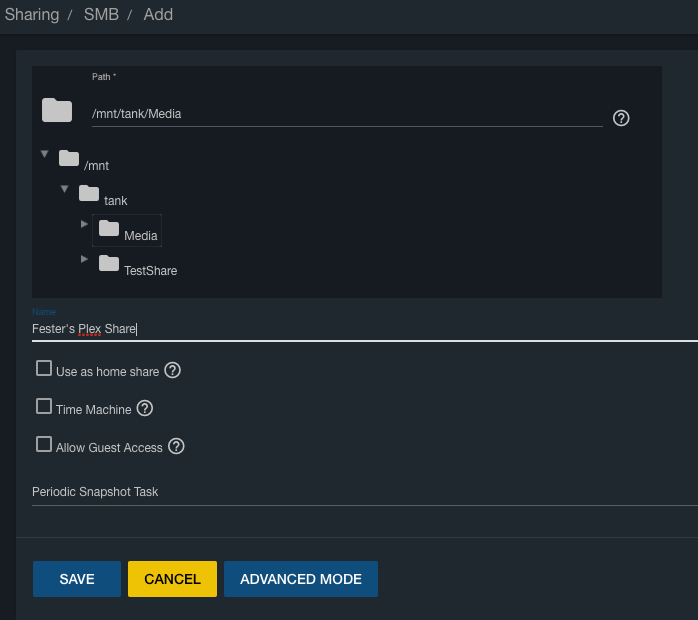
A new smaller window will pop up. In the “Path” section click the folder icon to the left, then browse to find your new Media dataset.
The “Path” text box should now display the chosen dataset.
Do not tick the “Use as home share:” tick box at the moment.
Give the share a name in the “Name” text box.
Do not tick the “Allow Guest Access:” tick box.
Now click the “Save” button.

If all goes well you will see the newly created SMB share entry.
Give the server some time to get the share up and running, then it is time to map the new network folder to a drive letter.
¶ Map Network Drive
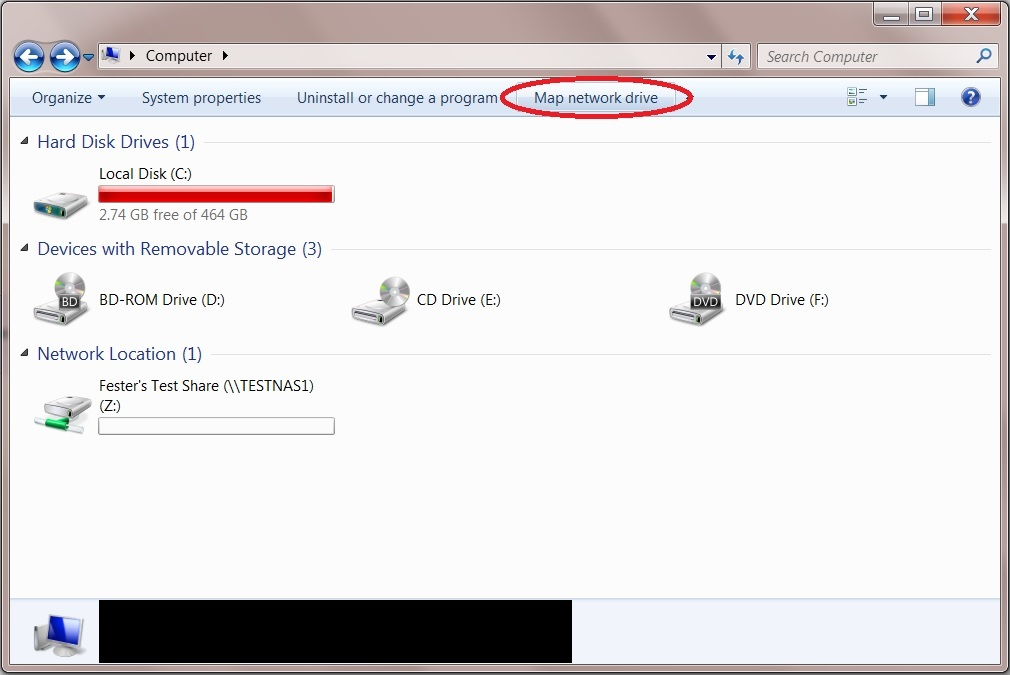
On the Windows client click on the “Start” button and go into “Computer” (this was on a Windows 7 machine). This should bring up a window that shows all the hard drives and any other devices connected to the Windows computer. Click on the “Map Network Drive” button.
From the “Drive:” drop down selection box (1) chose the drive letter you wish to assign to the shared folder (Fester accepted the default Y letter).
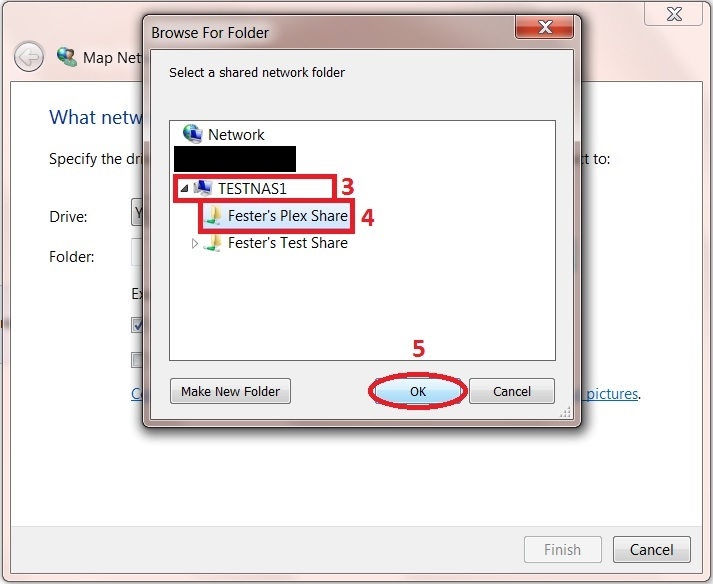
Now click the “Browse…” button (2). This will cause a window to pop up.
Navigate to the location of the shared folder by clicking on the server (in this case TestNAS1) (3) and then clicking on the shared folder itself (in this case Fester’s Plex Share) (4).
Now click the “OK” button (5).
The shared folder’s path name should appear in the “Folder:” text box (6).
Tick the “Reconnect at logon! Tick box (7).
Now click the “Finish” button (8).

If all has gone well you should find yourself in the shared folder. Here you can create other folders and save files. Test this to make sure there are no permissions problems. You should create a folder here for each type of media you want to use with the Plex Media Server (Movies, TV shows, Music, etc.).
Now copy a couple of media files (i.e. music, films, etc) into this folder. We will need these later to check the Plex media server.
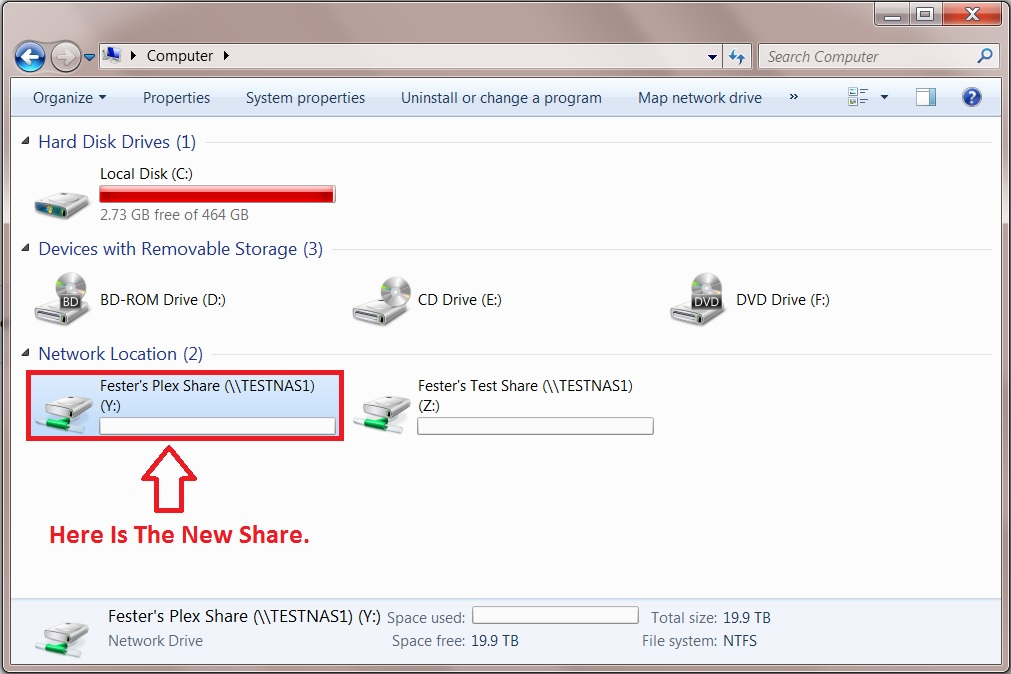
The shared folder will now appear as another drive on your system and should look something like this.
¶ Install Plex Media Server
To install Plex using the script, you'll first need to connect to your server using SSH. Then, follow the following instructions:
¶ Download the script
Change to the directory of your pool using the cd command. For example, if your pool is named tank, type cd /mnt/tank and then press Enter. Then, to download the script, run git clone https://github.com/danb35/freenas-iocage-plex.
¶ Configure the script
Change to the newly-created directory (cd freenas-iocage-plex). You'll now need to create a small configuration file for the script. To do this, run nano plex-config. This will open a text editor, into which you'll enter the contents of the configuration file. Enter the following:
JAIL_IP="192.168.1.89"
DEFAULT_GW_IP="192.168.1.1"
POOL_PATH="/mnt/tank"
PLEX_MEDIA_PATH="/mnt/tank/Media"Adjust these entries as required, especially the network settings. The JAIL_IP must not be in use by any other device on your network. Once you're finished, exit the editor by pressing Ctrl-X, and telling it to save the contents.
¶ Execute the script
Now it's time to run the script. Do this by running script plex.log ./plex-jail.sh. This will run for a few minutes. If all goes well, you'll see this:
Installation Complete!
Log in and configure your server by browsing to:
http://192.168.1.89:32400/webDo what the message says: browse to that address to open the Plex interface.
¶ Initial Plex Setup
These instructions are current as of 27 May 2019. The Plex interface may change with time. The first time you launch the Plex web interface, it will ask you to log in to your plex.tv account.
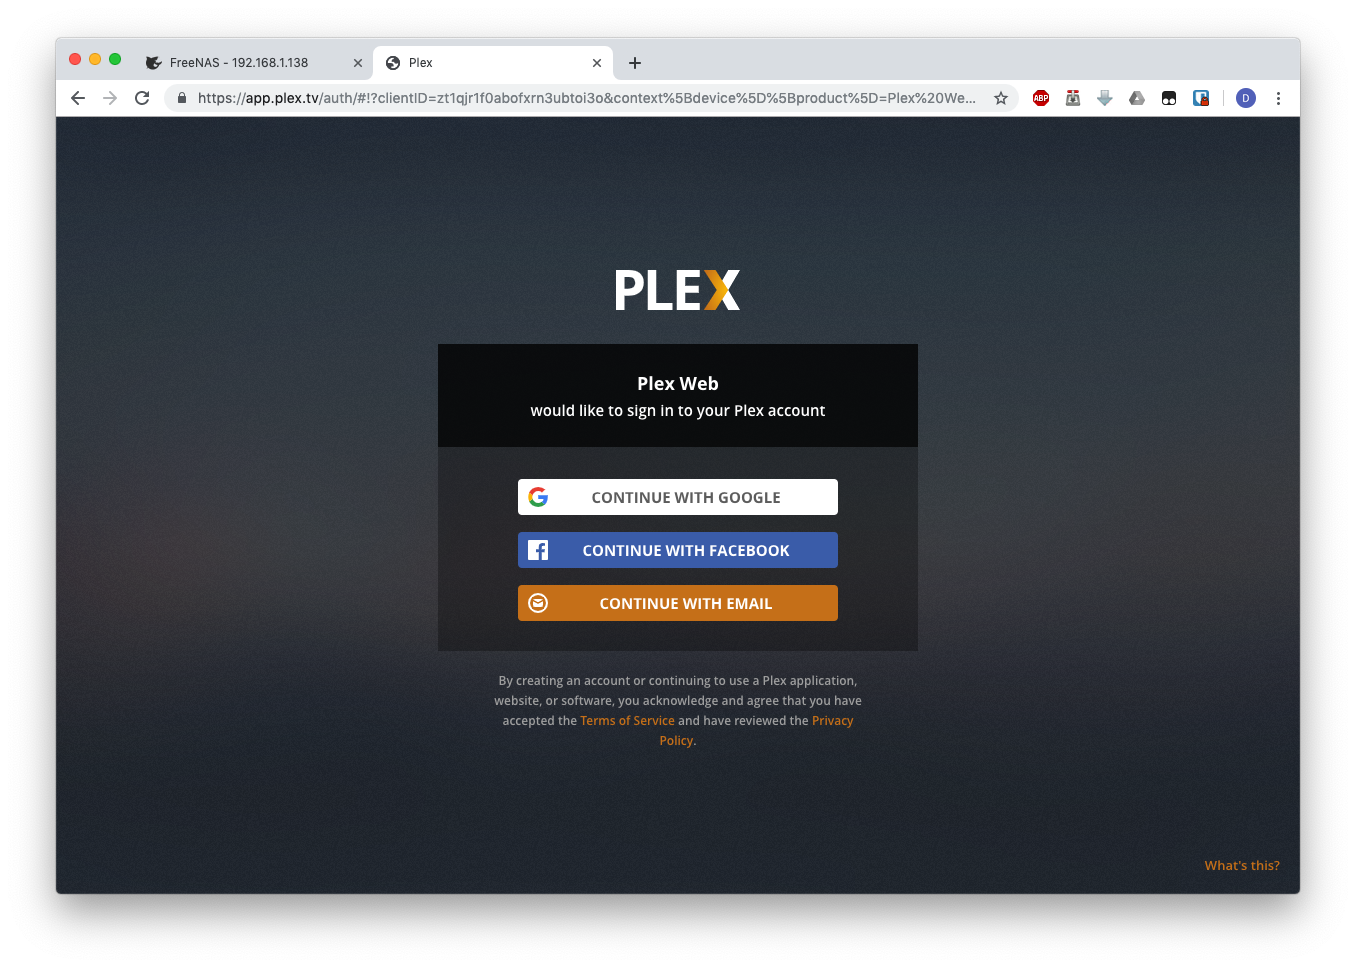
This is not required. To skip this step, click on the tiny text in the bottom-right corner that says “What's this?”. You'll see this screen:
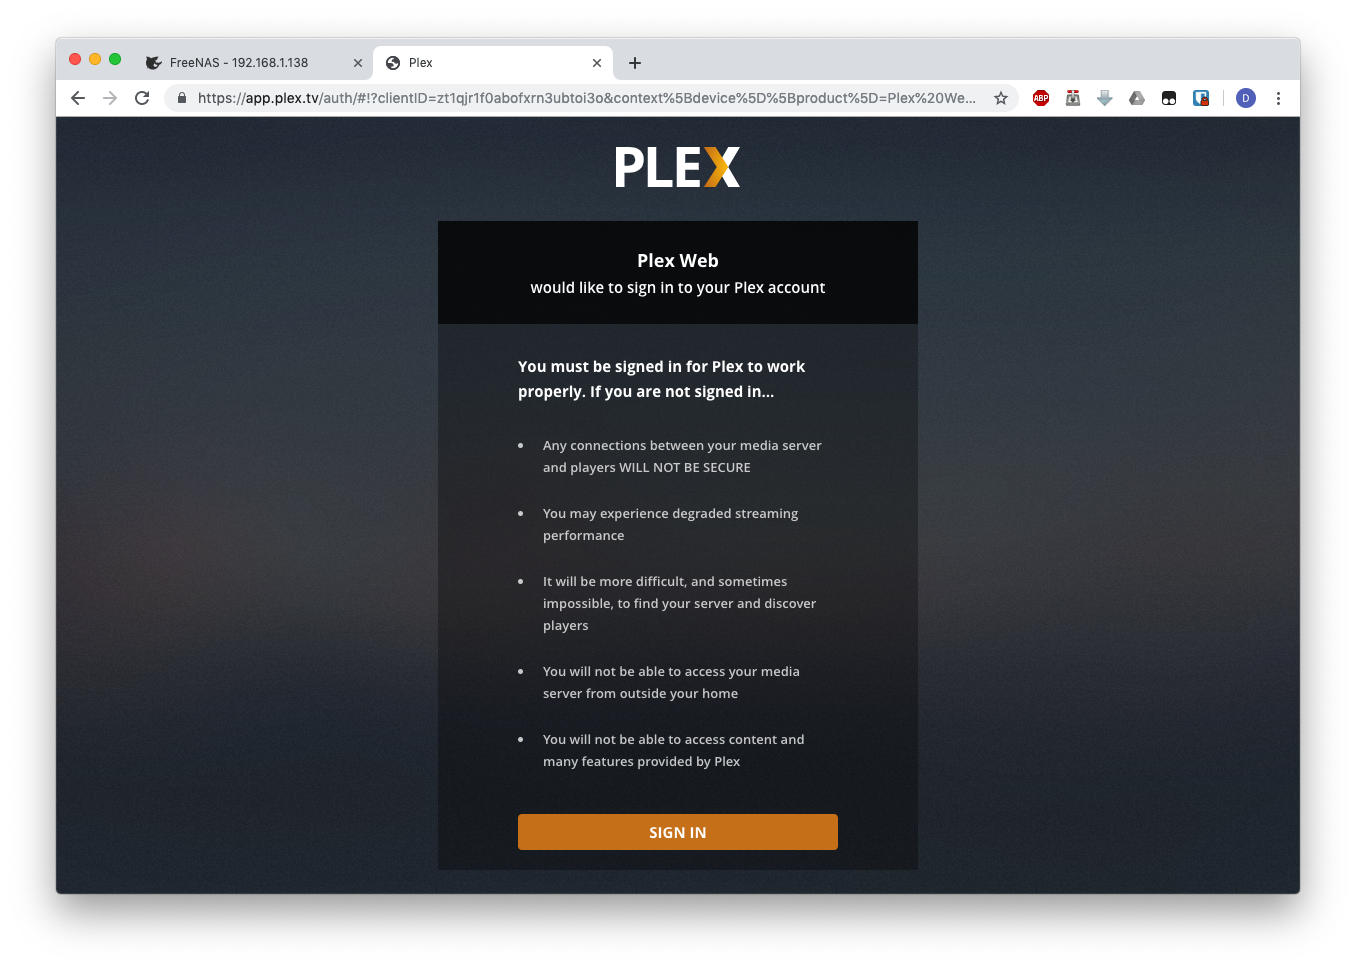
Read the screen and see if you want to register for a free plex.tv account. If not, scroll to the bottom and click on “Skip and accept limited functionality”. You'll see a screen explaining how Plex works.
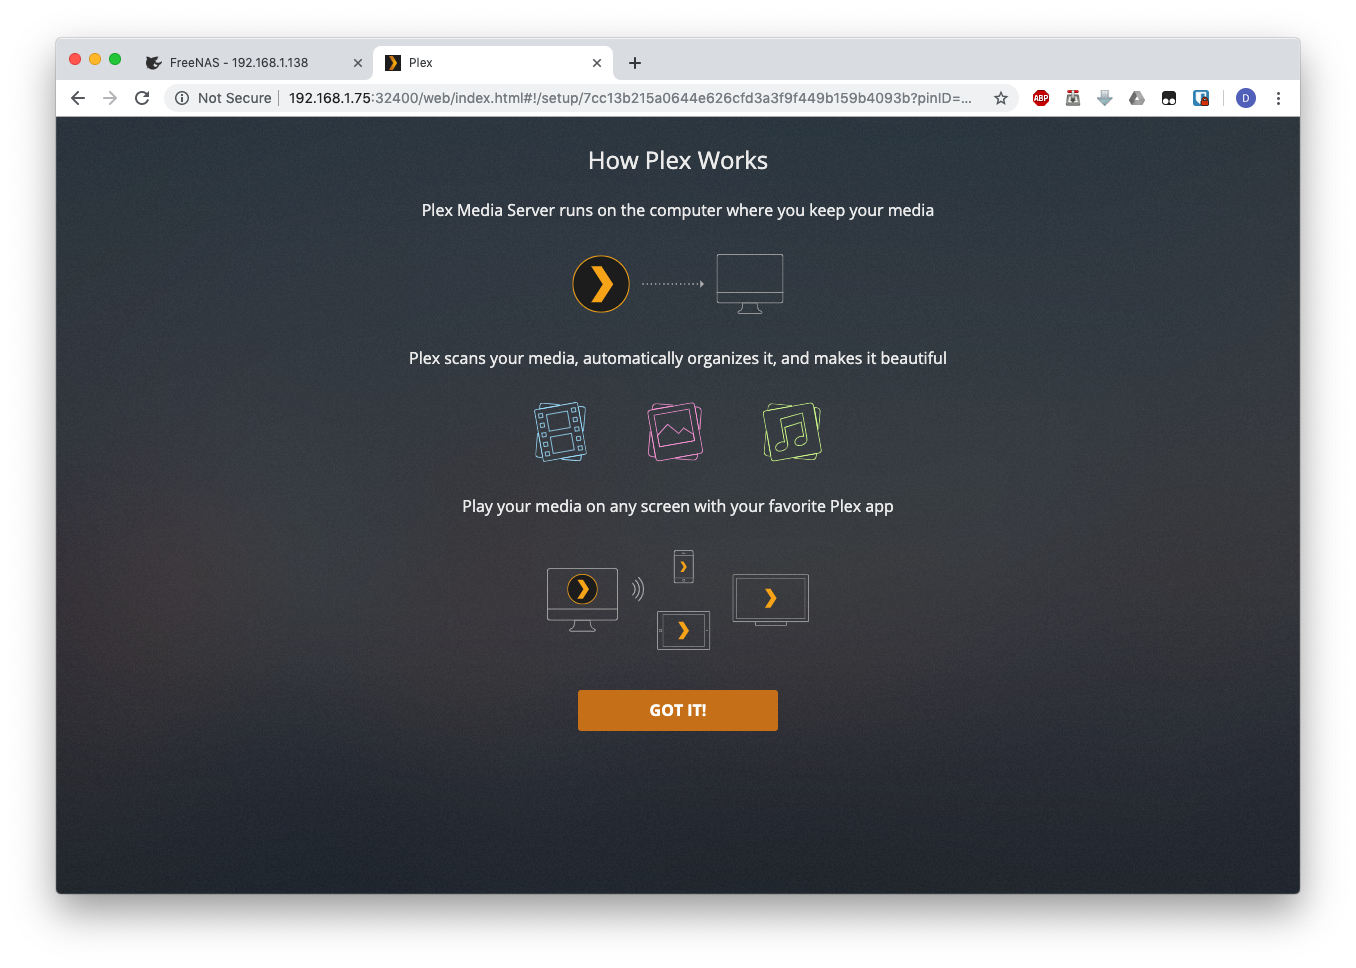
Click “Got it!”. You'll see a page explaining the benefits of Plex Pass, which you can close by clicking the X in the upper-right corner.
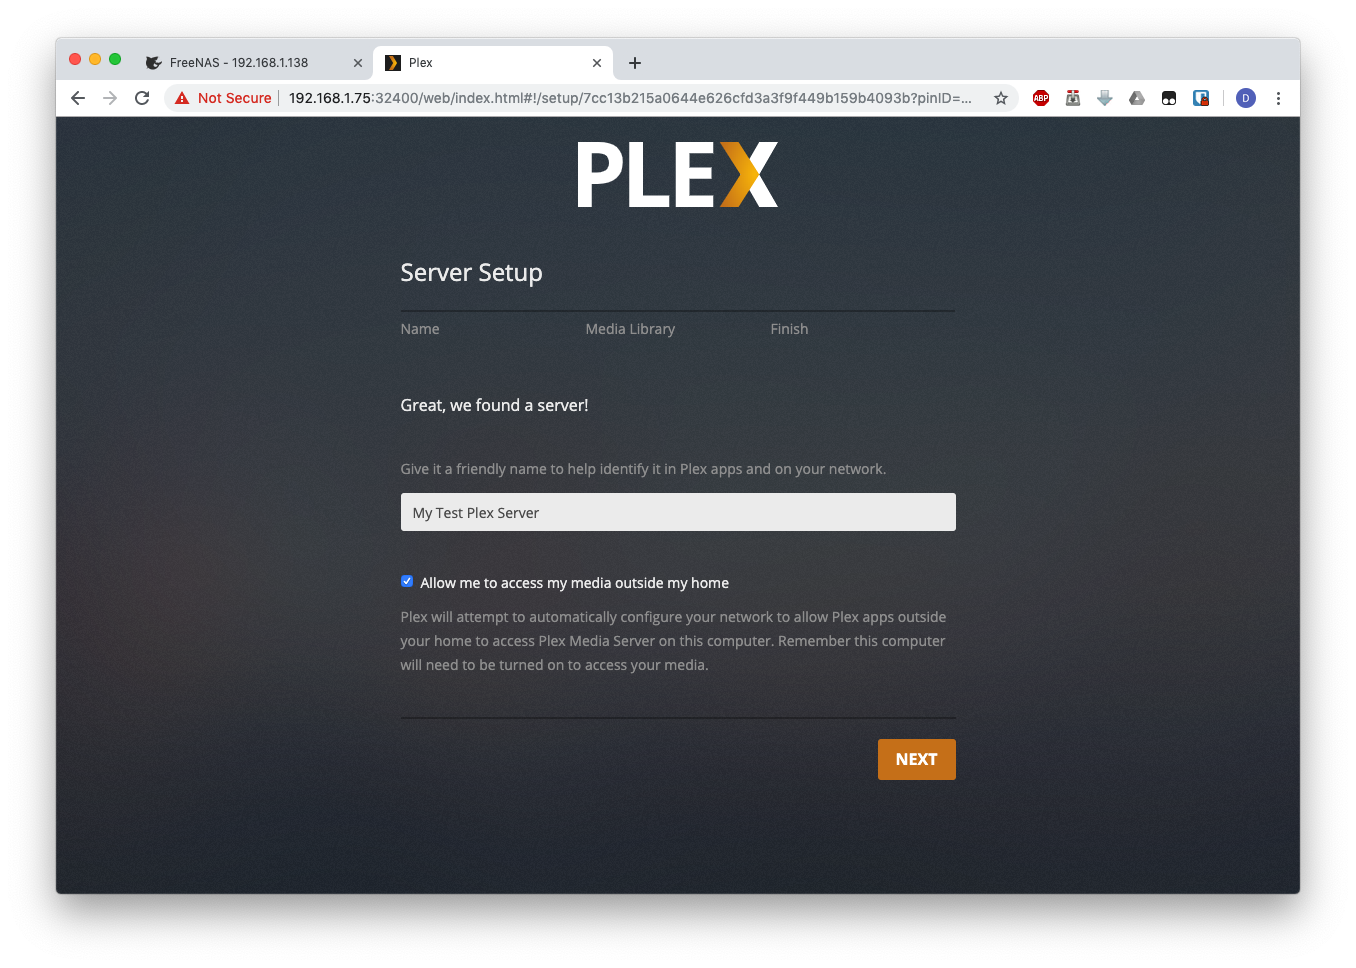
The next page will ask you to name your server. You can call it anything you like. It will also offer to allow you to access your media outside your home. The security implications of this choice are beyond the scope of this guide. Click “Next” when you're finished.
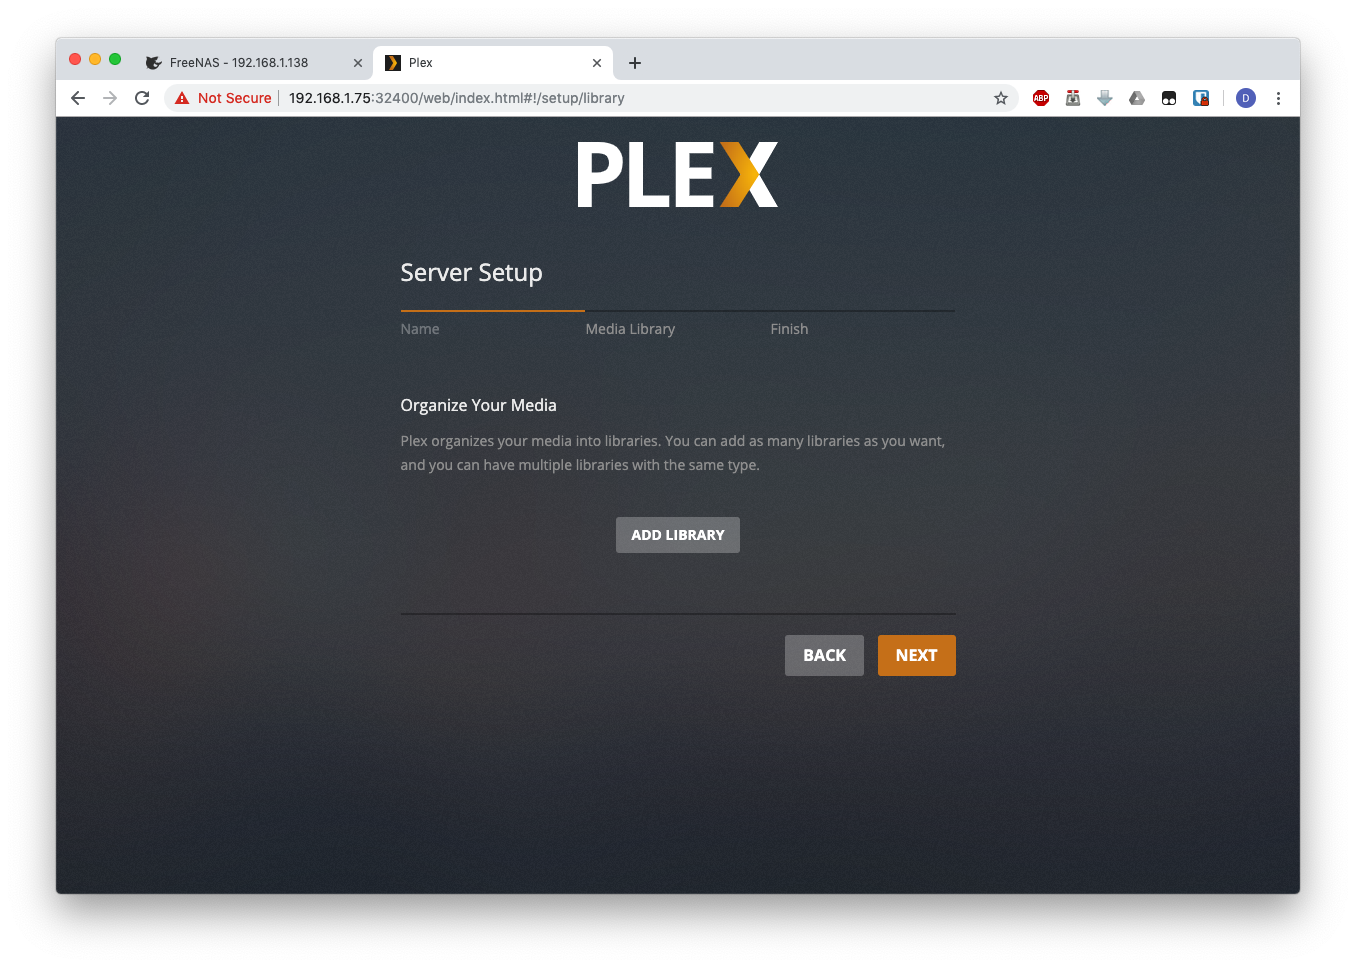
You'll now be able to set up your media libraries. Click the “Add Library” button to start.
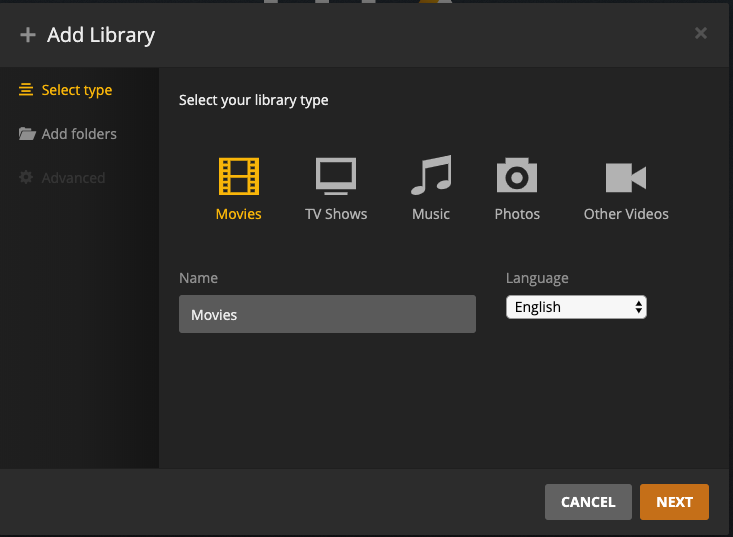
Select the media type. For this example, I'll use movies. Name the library and select your language, and click “Next” when you're finished.
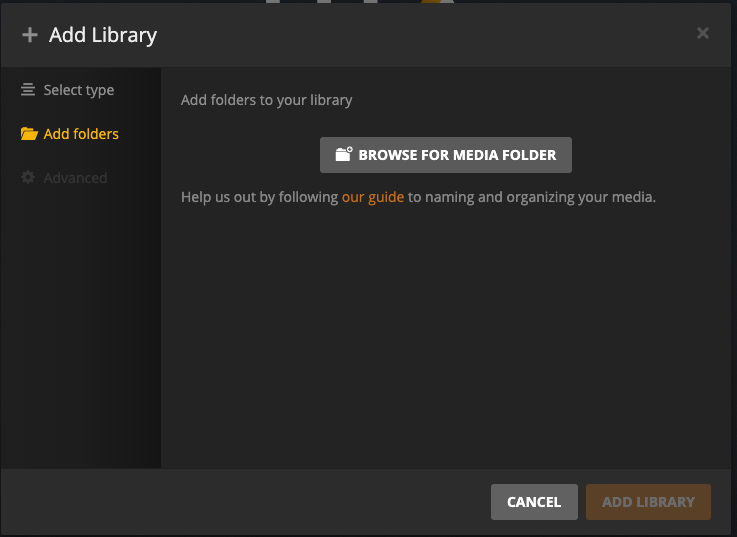
Now you'll need to add one or more folders to this library. If you've followed the instructions above, we'll need to add /media/Movies. Begin by clicking “Browse for media folder”.
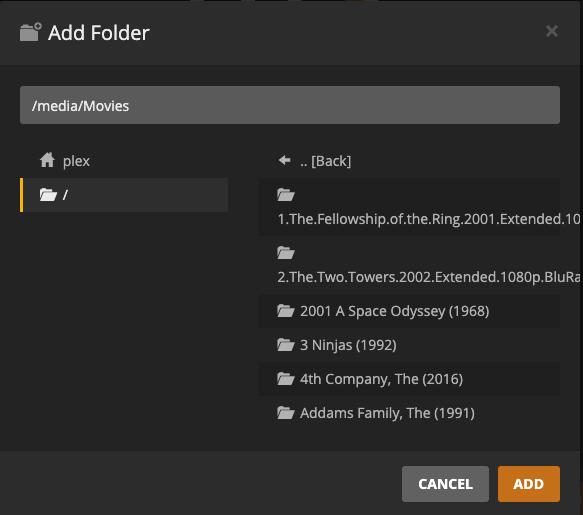
Then click to browse to the desired location. If you prefer, you can just type it in at the top of this window. Click “Add” when you've found it. Repeat as necessary to add more folders to this library, if desired. Click the “Add Library” button when you're finished.
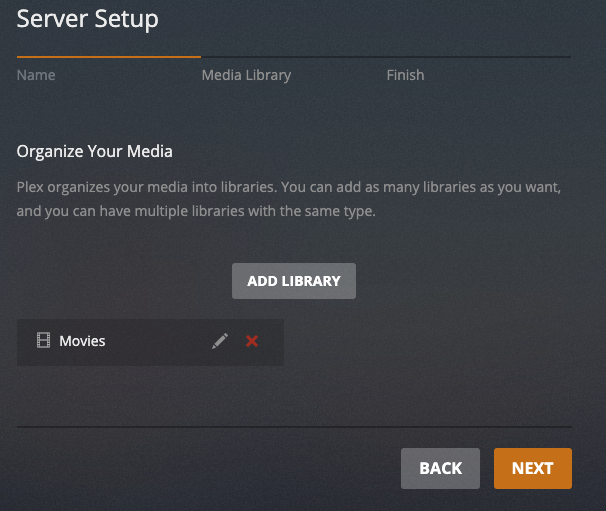
You can add further libraries here (TV, Music, etc.) if desired. Click “Next” when you're done adding libraries.
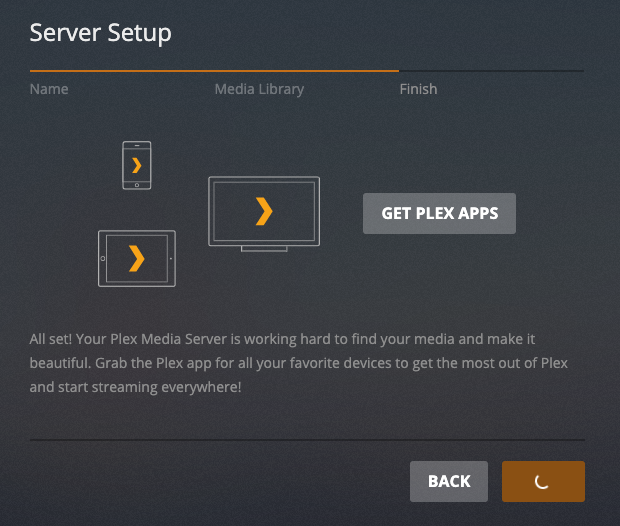
The system will take a few minutes to set up the server. Once it finishes, you'll see the home screen.
