¶ Let's Encrypt Certificate for TrueNAS SCALE
¶ Introduction
TrueNAS SCALE/Community Edition include the ability obtain a trusted TLS certificate from Let's Encrypt and keep it up to date automatically. If you meet the requirements below, this is probably the easiest way to keep an up-to-date, trusted certificate for your NAS.
¶ Prerequisites
- You must own or control a real Internet domain, which will incur a small cost--they start around US$10 per year from registrars like namecheap.com or Cloudflare.
- DNS for this domain must be hosted by a supported DNS provider. As of TrueNAS 25.04, these providers are
If you own a domain but host your DNS with a different provider, and are unable or unwilling to change to one of these, you may instead want to consider using acme.sh or some other client to obtain a certificate, and deploying that certificate to your NAS following this guide.
¶ Instructions
¶ Create an ACME DNS-Authenticator
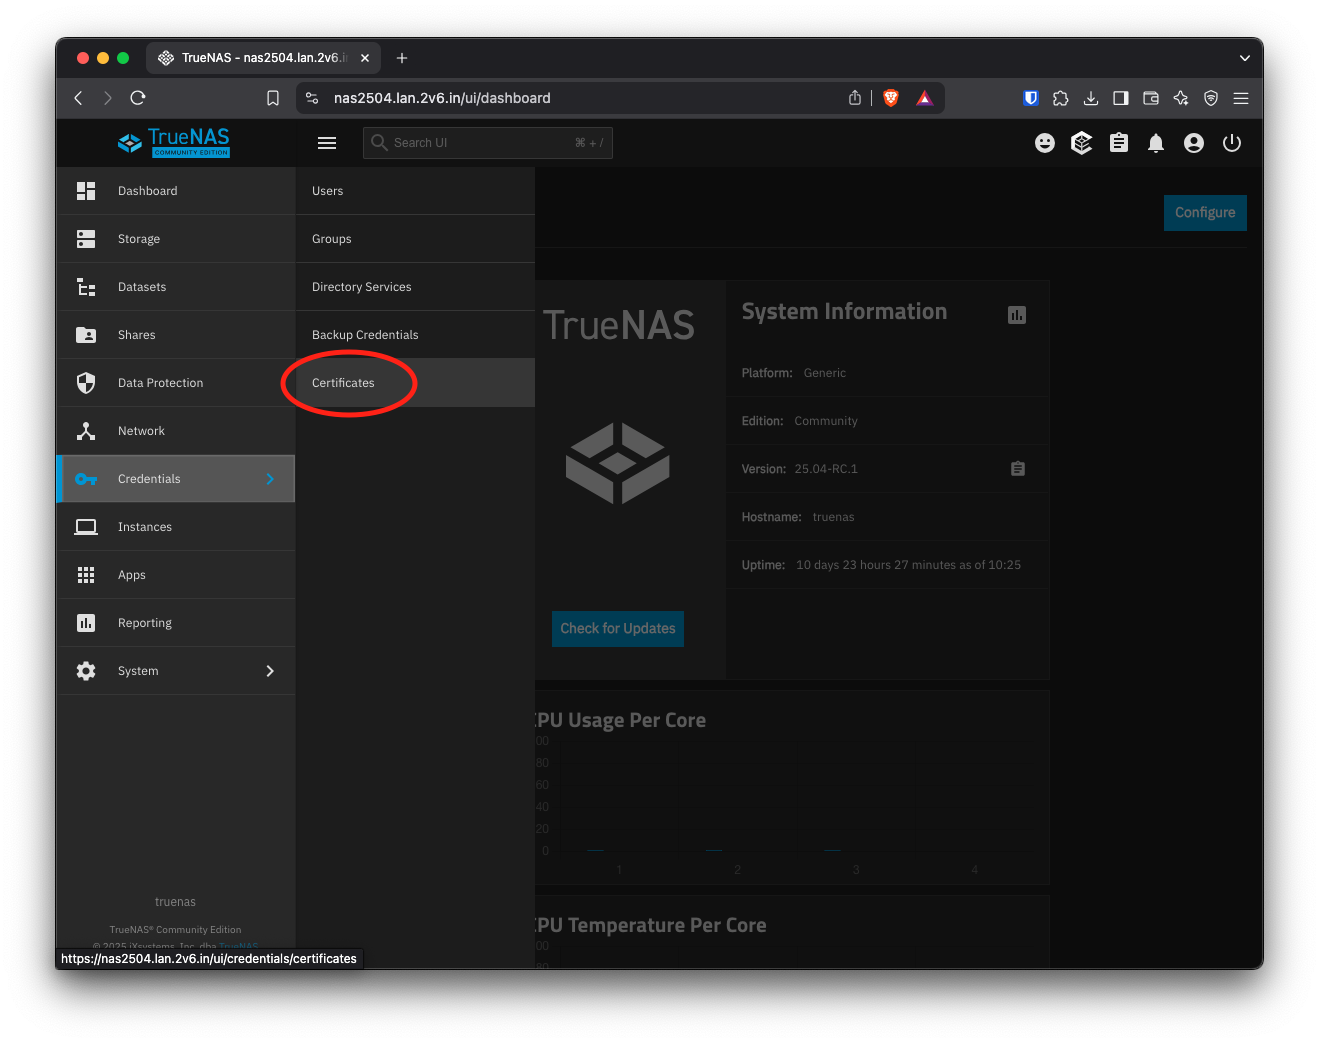
In the TrueNAS Web UI, browse to Credentials -> Certificates.
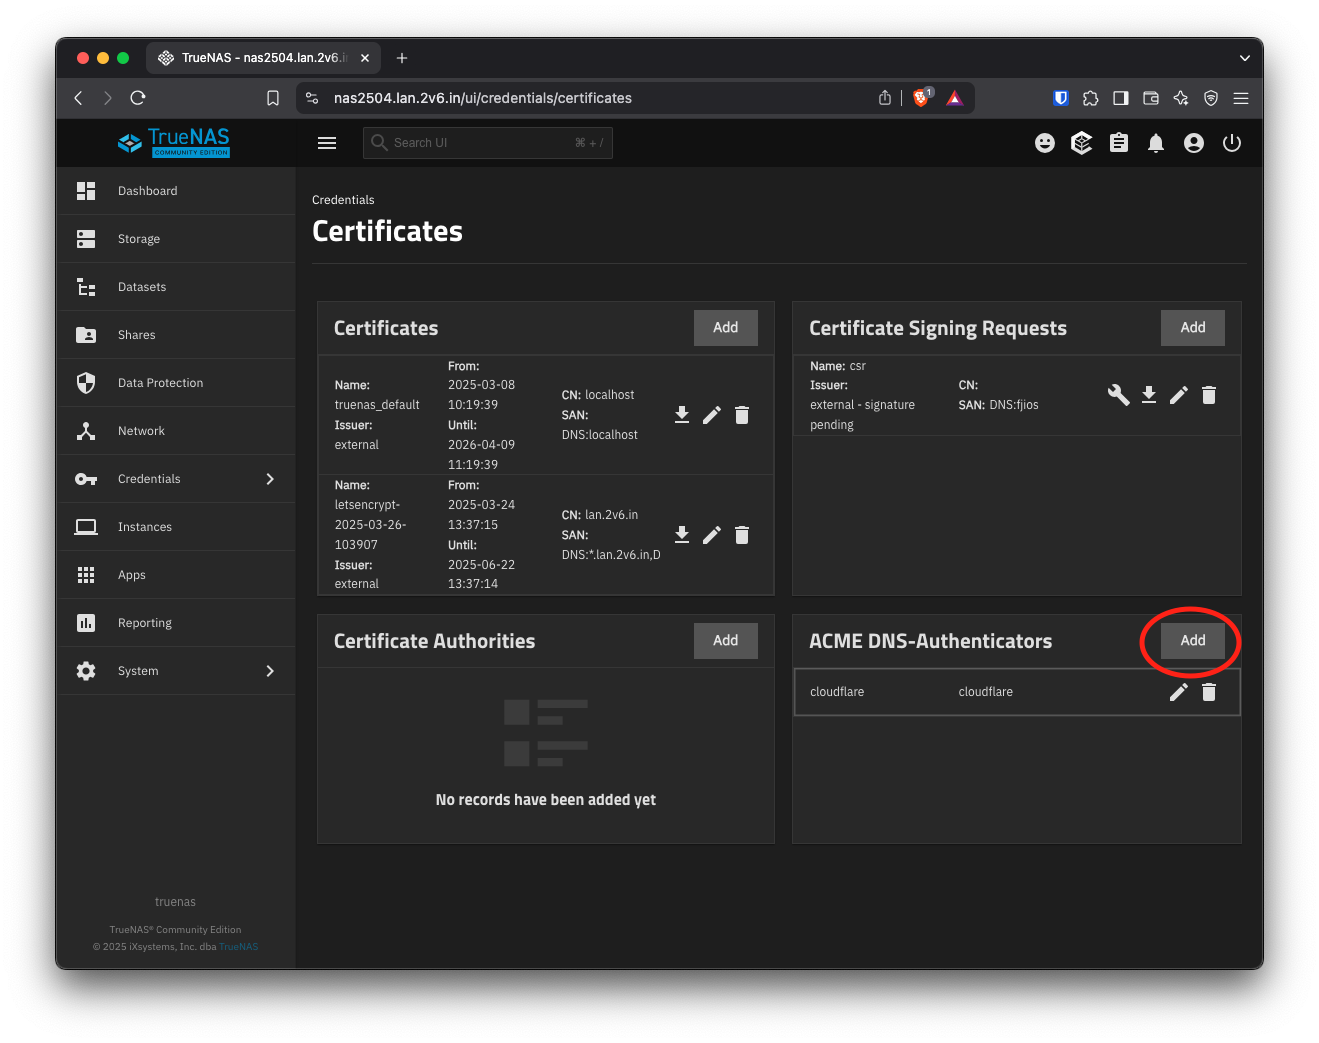
Next to ACME DNS-Authenticators, click Add.
Name the authenticator as desired, and set Authenticator to match your DNS host. Then enter the required credentials, which will depend on your DNS host. For Cloudflare, you need either the account e-mail and a Global API key, or an API token; the latter is recommended. The token should have permissions of Zone / Zone / Read and Zone / DNS / Edit for the domain you're requesting. The complete form will look like this:
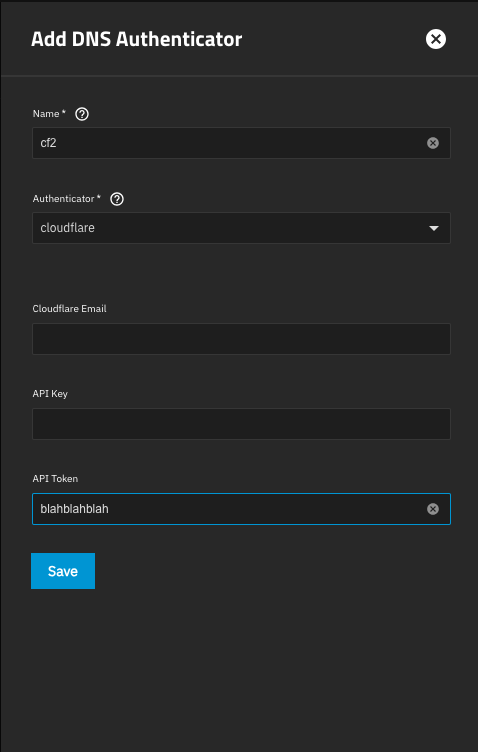
Click Save.
¶ Create a Certificate Signing Request (CSR)
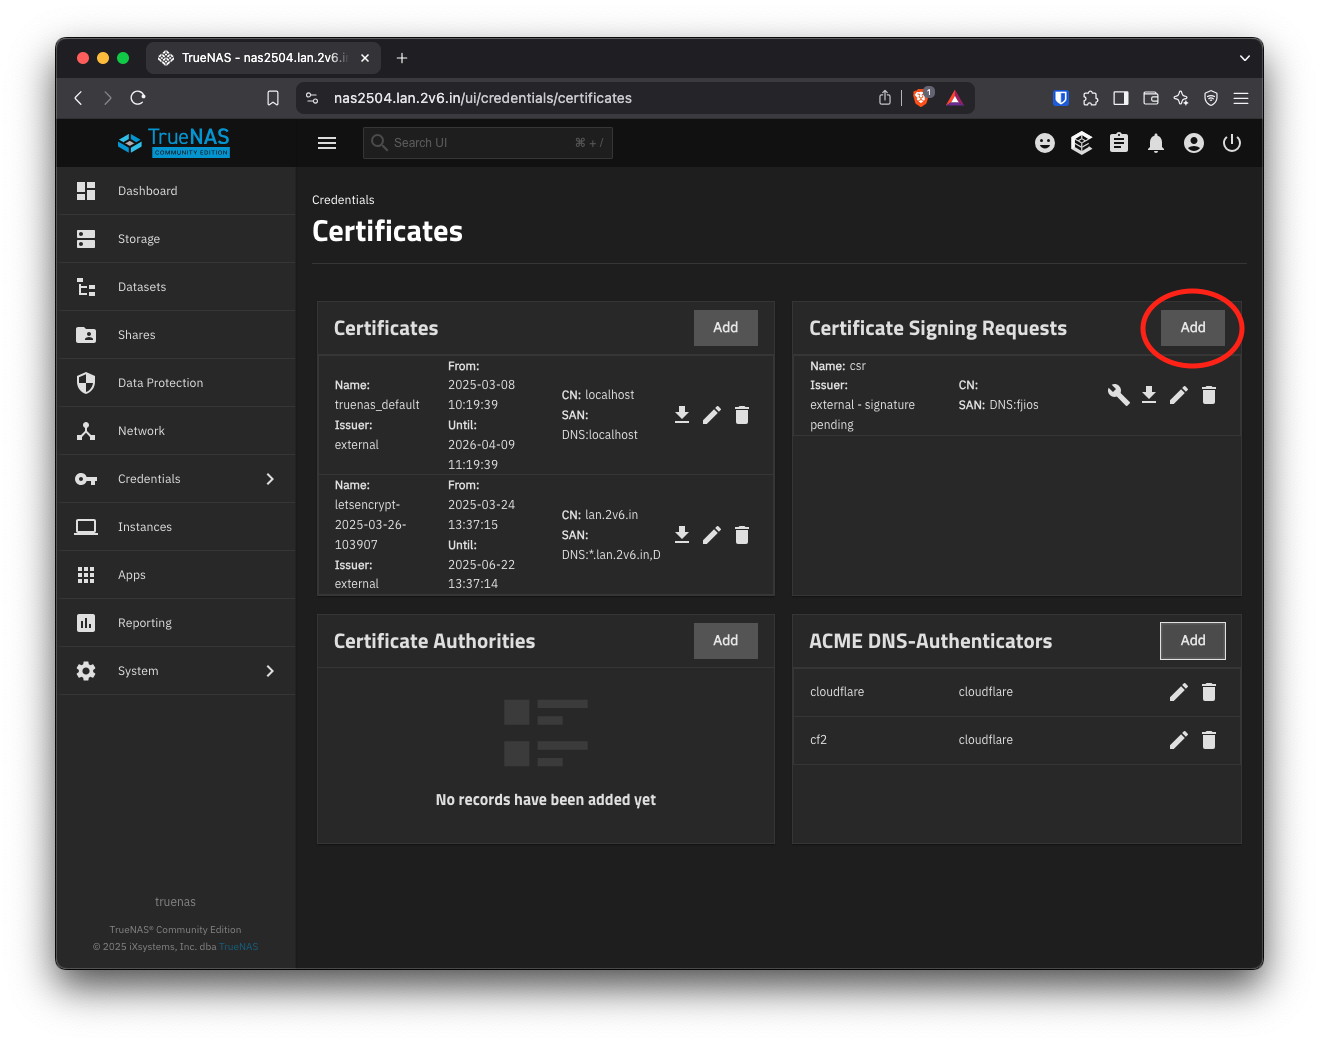
Next, create a CSR. Next to Certificate Signing Requests, click Add.
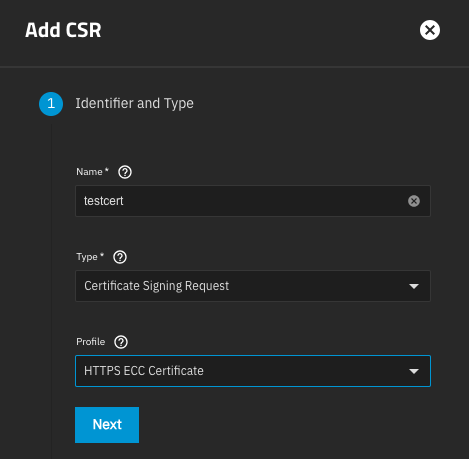
Under Identifier and Type, enter a name as desired, leave the Type set to Certificate Signing Request, and set Profile to one of the HTTPS options.
Leave Certificate Options set to the defaults. Under Certificate Subject, only Subject Alternative Name is validated; none of the other fields are, and they won't appear on the certificate. But they're nonetheless mandatory; fill them in whith whatever you like.
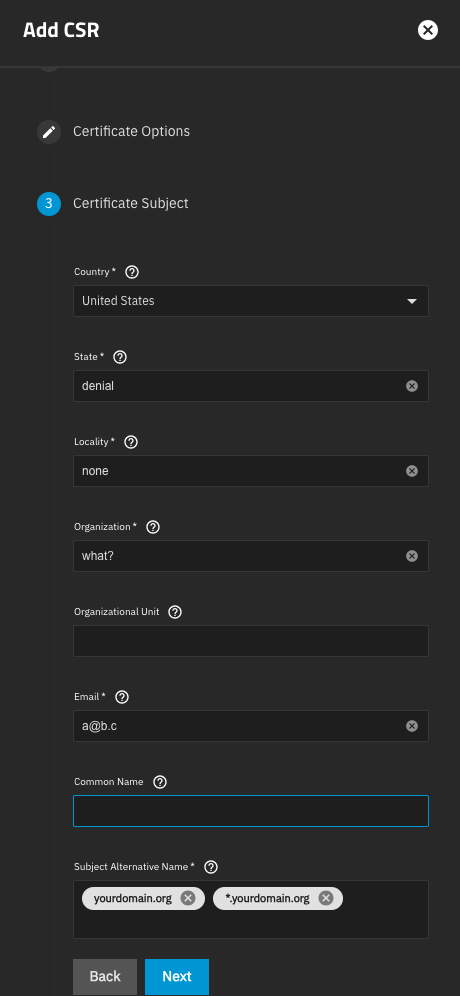
Extra Constraints can be left at defaults, so click Next, then Save.
¶ Request the certificate
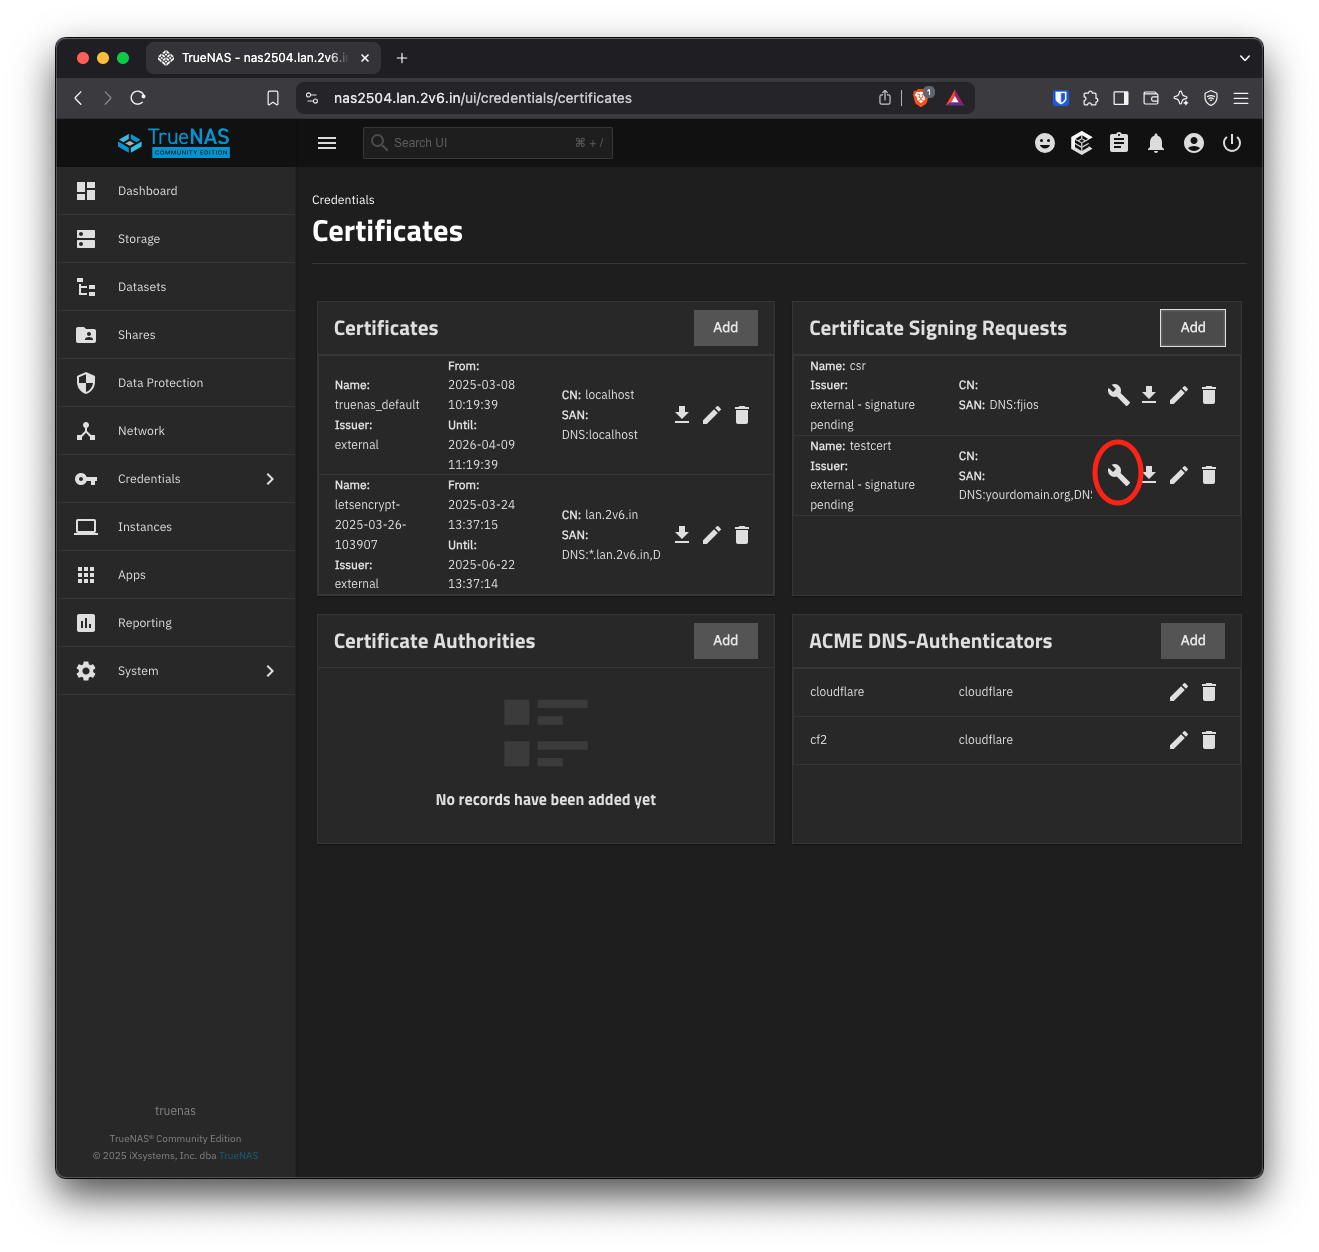
Now we can request the certificate itself. Click on the wrench to the right of your newly-created CSR:
Fill in the form. Identifier can be anything you like. Check the box to accept the terms of service for your CA (Let's Encrypt's current TOS are here). Set Renew Certificate Days to 30. This field controls when (i.e., how many days before expiration) TrueNAS begin trying to renew the certificate; Let's Encrypt recommends that renewal attempts begin when 1/3 of the certificate lifetime remains, which would mean 30 days. The default for this field is a nonsensical 10 days; iXSystems have had tickets for this issue for years and have yet to correct it.
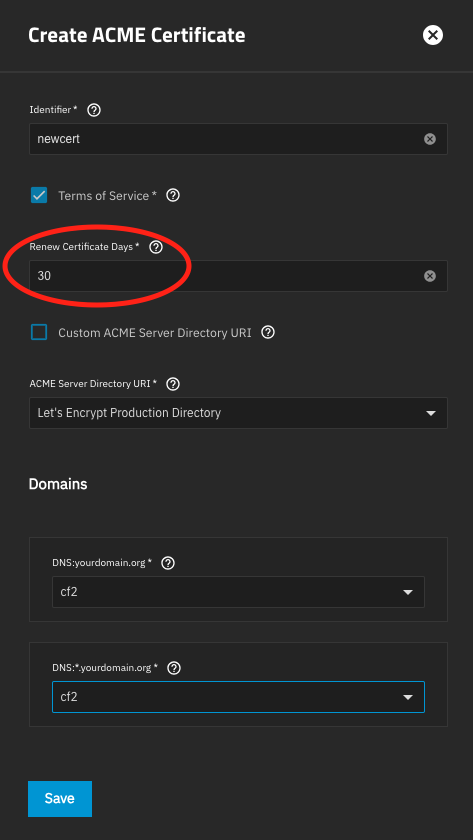
Under Domains, for each domain you've entered in the Subject Alternative Names field in the CSR, choose the ACME DNS authenticator you created above. Then click Save. Your certificate will be requested and, if successful, renewed automatically.
¶ Configure your system
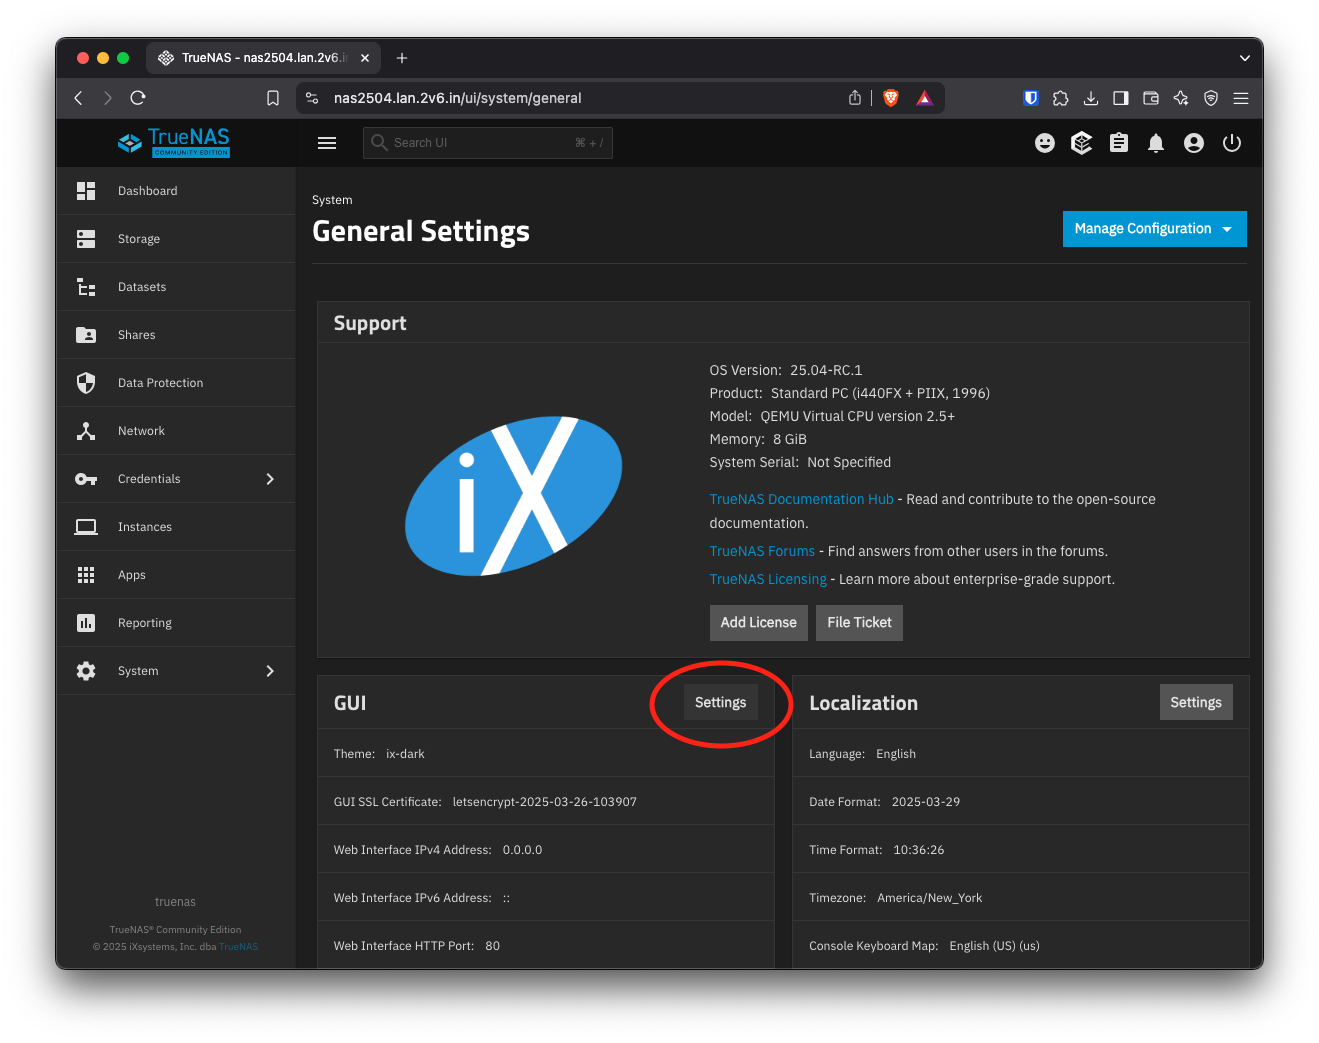
Now that you've created the certificate, you'll need to configure your NAS to use it. Browse to System -> General Settings, and click Settings to the right of GUI.
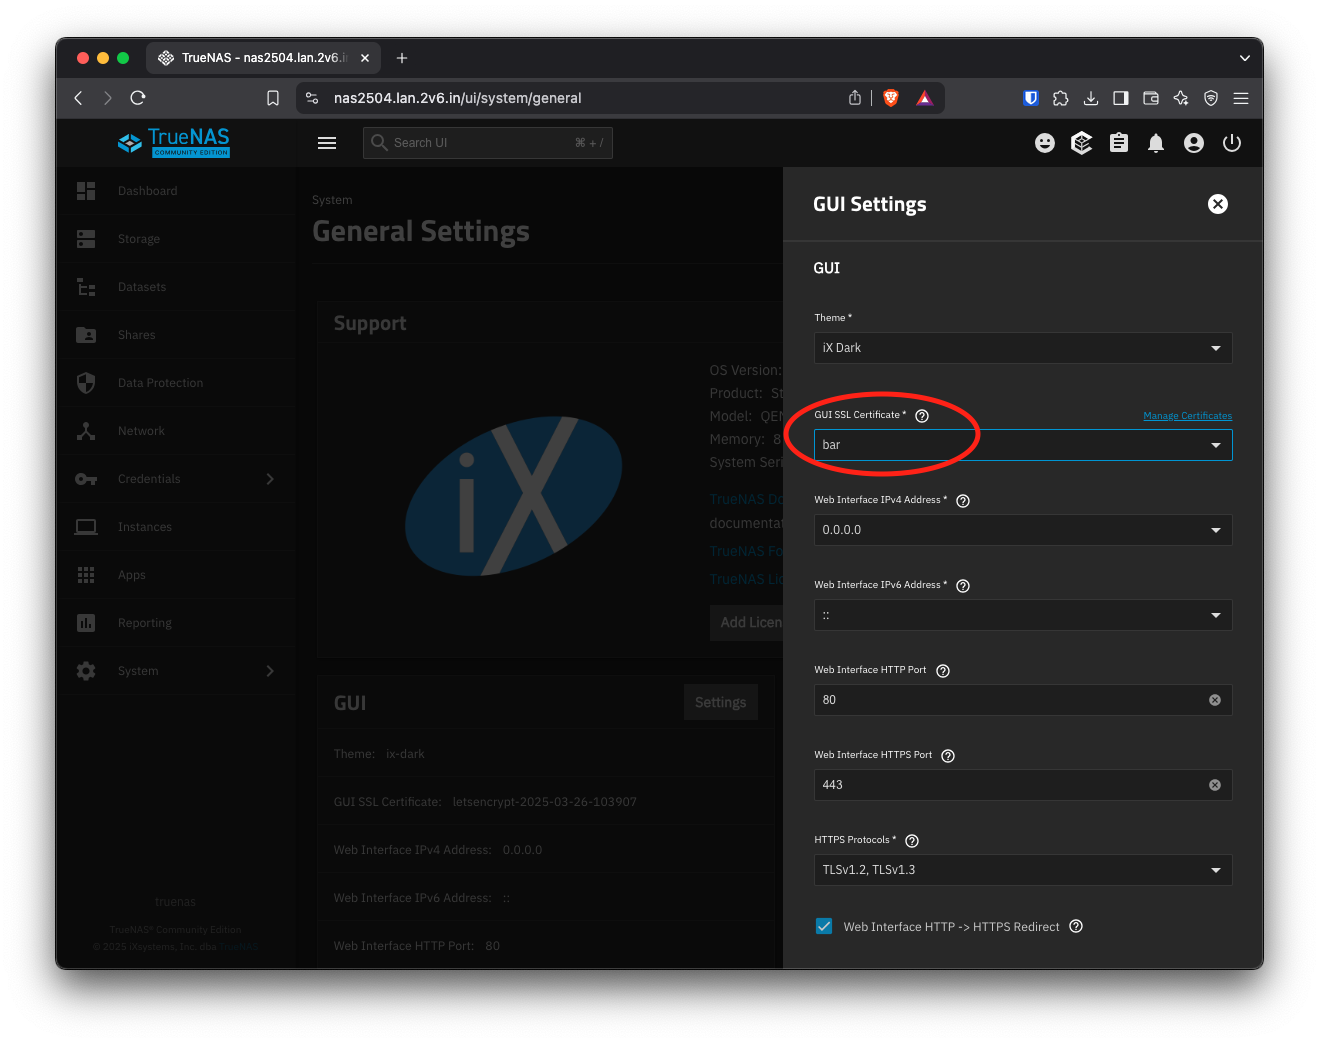
Then set GUI SSL Certificate to the one you just created and click Save.
If you've configured any other services to use a certificate (FTP would be the most likely candidate), set it to use the newly-created certificate as well. Browse to System -> Services, click the pencil next to the service in question, and set the correct certificate.
Similarly, if you've configured any apps to use the previous certificate, you'll need to tell them to use the new one instead. Browse to Apps, select the app, and click Edit. Change the certificate setting to match the new one.